
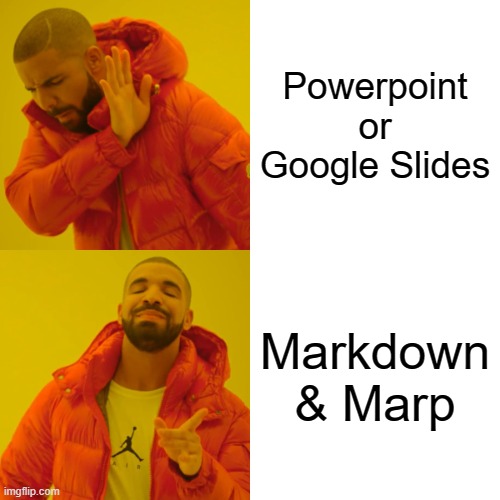
During the past two months I’ve volunteered to present at both DC44131 (Edinburgh) and Abertay HackSoc but I didn’t want to use either Microsoft’s Power Point (or Open Office) or Google’s Slides. In the past I’ve tried to use RemarkJS but at the time I had some issues with it and decided not to check it out again for my presentation needs.
For this project I used Markdown as the content format and Marp (open-source) as the core engine to build the slides into HTML and PDFs.
This project is open source and you can find the slides at presentation.geekmasher.dev
Markdown and Git(Hub)
First things first, using git to store and version control your slides is just awesome! No longer are we using NFS shares or a FTP server to store our code - why shouldn’t your slides be any different?
Markdown is then a natural choice from there as it’s simple and easy to use. Latex is great and a very powerful language alternative but a little overkill for what I was looking for.
The final part is using GitHub to publicly share the content of the slides to share your knowledge. This also helps for creating drafts of slides, staging environment, and requesting people to review your content using Pull Requests.
Structuring Markdown
There are two main structural components to think about when creating your slides.
The first is how to separate slides from each other by using the build in markdown separator / --- syntax.
This looks like the following:
---
# Slide 1

Content for slide 1 goes here.

---
# Slide 2

More content for slide 2
This allows for lots of slides to be split up and structured as per your requirements.
Second are Marp directives which can be added at the top of the file or for each slide in the form of headers. Here is an example of some core (but not all) directives at the top of this slide:
---
theme: gaia
class: lead
paginate: true
backgroundColor: '#eae8db'
color: '#392020'
---
<!-- rest of the slides ... -->
Each of these directives is applied to every slide in the deck. Here is a list of these main directives that I recommend to pay attention to:
theme- Specify theme of the slide deck.
class- Specify HTML class of slide’s
<section>element.
- Specify HTML class of slide’s
paginate- Show page number on the slide if you set
true.
- Show page number on the slide if you set
backgroundColorandcolor- Setting
backgroundandcolorcolours
- Setting
All of these can also be set using Markdown comments at each slide that can be parsed by Marp. Example is the following for this slide:
---
<!-- _class: lead -->
# Slide

And the slide content...
The underscore sets the directive for that one slide and if it’s removed that will apply to every slide until the directive is set again. There are other things to look into such as the following but these aren’t as critical:
Once you have both the slides structured and understand some of the most important directives, you are ready to build your slides with the engine.
Marp!
Marp is the core technology used to create the slides deck from Markdown.
This was extremely easy after installing the marp-cli using npm or other package managers.
npm install --save-dev @marp-team/marp-cli
I recommend using NPM as this will be very useful for customisations. For those who use VSCode there is a plugin that can be used to highlight and preview your slides before committing.
The main use case of the CLI is to take Markdown files and produce a number of outputs (HTML, PDF, or even pptx). This can be done and allows us to quickly create a slide deck with very little effort.
marp --output "index.html" slides.md
Now that we can create a slide deck, let’s customise our slides to the exact requirements we have. This requires some knowledge of JavaScript but shouldn’t stop the simplest of changes to be done.
There are two main elements I wanted for my slides:
- Able to create re-usable slides for many decks (about me)
- Custom blocks
To do this we need to customise the Marp engine which can be done by passing in to the --engine argument a path to our own engine.
I wont go over my code in detail but all you need to do is install and import all the plugins you want and make sure to export a Marp class object.
// Import all the required libraries
const { Marp } = require('@marp-team/marp-core');
const markdownItContainer = require('markdown-it-container')
const markdownItFootnote = require('markdown-it-footnote');
const markdownItInclude = require('markdown-it-include');

// Options for the `markdown-it-include`
const optionsInclude = {
    root: '.',
    includeRe: /!include(.+)/,
    bracesAreOptional: false
};

// Export module
module.exports = (opts) => new Marp(opts)
    .use(markdownItFootnote)
    .use(markdownItContainer, 'columns')
    .use(markdownItInclude, optionsInclude)
The final result is a command that allows me to create HTML slides with a custom engine to allow me to do all I need.
marp --engine ./src/engine.js \
    --no-stdin \
    --output "index.html" \
    index.md
Side note: I use the --no-stdin for now.sh due to Marp waiting for my Markdown to be passed into STDIN (known bug).
Deployment
The last and final step is to deploy your presentation to allow remote access and others to view the awesome work you have been developing. I recommend using a service like now.sh / vercel to make your life easier by doing the heavy lifting for you.
You can either use the CLI or their GitHub git integration to allow you to publish your presentations with a click of a button. I’ll be choosing the latter as this gives me the simplicity of deploying the application and all the different staging environments.
Conclusion
Once setup, and configured to your heart’s content, writing slides couldn’t be easier. Now you can create Markdown files and build an awesome looking slide deck built using open source tools which will work on any platform.
You can find the source code on GitHub and all my live presentations using Marp. I’m sure that this code will be updated and changed by the time you read this so do take a look are the source code.